Friday, 7 April 2023

MAKE MORE PANTS!! THE DUET TROUSERS BY LOVE NOTIONS

 I am slowly conquering my fear of pants.  

Here is a video of me wearing my latest make the Duet Trousers by Love Notions 


The Duet Trousers by  Love Notions   has given me the superpower to make more of these comfortable trousers. The pattern has a large size range  so everyone can enjoy making pants

What is great about the pattern is that you can make it in both knit and woven. Here are some of the great features on the pattern cover sheet. 


The pant fitting workbook is a gold mine of information to help with all your pant fitting needs. This is a free workbook included with the pattern.

I made my version out of suiting fabric and it is now a staple workwear.  This is the straight-leg style. 

The curved waistband gives me a much better fit and did I mention it has pockets ?!


I enjoyed inserting the invisible zipper - which is only required for the woven version. Do not stop reading because you realize it has a zipper!  Invisible zippers are actually way easier to install than regular zippers. 

But if you feel that this sew may be something you cannot achieve alone, no worries! To help you along,  the Duet Trouser also has a sewing course that you can purchase from the website.  

You can get at a 10% discount using the code found HERE. This discount code applies to all patterns on the Love Notions site even if it is on sale. 


I hope you enjoy making your Duets and please come on over to the Facebook group if you are not already a part and share your sewing journey and successes.

Happy Sewing! 


Friday, 17 March 2023

MARGOT BY LOVE NOTIONS - PATTERN REVIEW AND DISCOUNT CODE

 Today I am featuring the Margot by Love Notions Patterns.

It is the Feature Friday pattern for today March 17, 2023, this means you get the pattern for $5 today!


It is a beautiful simple top for any occasion and I would love it if you would give it a try. You get an extra discount at any time - even on the sale price if you use this link - https://www.lovenotions.com/product/ladies-margot-peplum-top?affiliates=493

The pattern comes with three skirt options and is easily paired with skirts from other Love Notions patterns. I choose to make the swing skirt for my version.


There are also 2 bodice styles, I made the solid bodice but if you love to colour block the princess seams, this top will give you the opportunity to do that. 

Then there are the sleeve lengths - one for all seasons. I am wearing elbow-length sleeves but it also comes in short, 3/4, and long. 

This is perfect for work but I am sure will also look but if great as a casual top too. This is a version I made last year and love it. 

Check out my twirl video of this floral black and grey top
 here on Instagram  https://www.instagram.com/p/Cp5LIuFOl7j/  or watch it below :


and for an earlier version I made here with short sleeves and the gathered skirt option- 


Thursday, 26 January 2023

SWAYBACK ADJUSTMENT ON THE STITCH UPON A TIME RAYE RAGLAN TOP AND DRESS

 Hi Everyone, 

Today I am sharing a new pattern with you.

It is the Raye  Raglan Top and dress by Stitch Upon a Time.

This pattern comes with several sleeves, necklines, top and dress lengths that you can mix and match. 

Today I am going to show you how I do a swayback adjustment on my Raye top by SUAT.


Now you may be wondering what is a sway back adjustment and I will explain it with the photo below.

Thanks to tester Emily for allowing me to use her photo as an example. 


In this photo, you will notice that the fabric has pooled above the hip and in the waist area. 

Now a swayback is basically that curve in the small of your back and it causes the fabric to pool or sit in that curved area. This shape may be due to posture or just be naturally how you are shaped.

This sometimes causes your clothing not to sit nicely and results in the fabric pooling or folding in the small of your back. 

For this reason, I tend to always add a centre back seam to dresses and tops that do not already have one so that I can perfect the fit to my body.  

Sometimes the dress already has a centre back seam and I still need to curve that seam a bit more to get a proper fit. 

This pattern adjustment is quite simple and you will be happy with the outcome. 

METHODS OF ADJUSTING FOR SWAYBACK :

Method 1: You can sew up a muslin and then pinch out the extra fabric and measure it to see how much your adjustment needs to be. Once you have found out how much you will need to adjust, you can follow the adjustment steps below to make the adjustment. 

Method 2: Measuring your body and adjusting the pattern  - You could also be like me and take a shortcut route and measure your body, but you will need the help of someone else to take the measurements for you. I will be using this illustration to guide the measurement process. To take the measurements you will need :

- long hard ruler 

- measurement tape

- paper and pen to write down your measurements


Referring to the image above - 

BLUE LINE - this represents the long (hard ruler )- the person who is measuring you will place the ruler along your back. (No measurement will be recorded for this step). 

RED LINE - Your side waist measurement - measure from right above the bust (i.e where your armpit ends)  to your natural waist.  It is recommended to tie a string or piece of elastic around your waist to be sure where your natural waist falls. The elastic or string will usually settle at the narrowest part of your waist. 

You could also lean over sideways and mark that crease at your side seam to find your natural waist. 

Record this measurement from the armpit to the natural waist. 


GREEN LINE - locate where your back curves or  "sinks in" the most. This could be your natural waist or where your side seam ends. Once you determine this section on your body, measure out to the blue line.  In other words, you are finding the distance between your back and the blue line. This figure is the amount you will be adjusting your pattern piece so be sure to measure accurately. 


Record this measurement. 

In my case, the green line is 2" and my side seam is 9".

Now let us go to the pattern pieces.


ADJUSTING THE BACK BODICE PATTERN

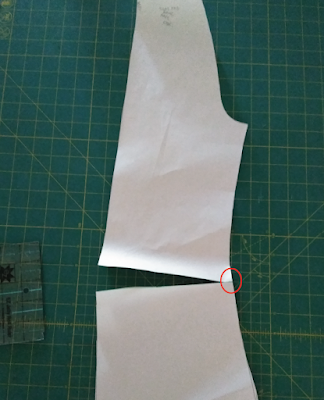
Take your back pattern piece and measure from the underarm area to the length of your side waist measurement.  Square across on your pattern piece at the side seam measurement. 


Next cut alongside the waist measurement line (red line) leaving about a 1/2" left so that the pattern piece will stay together i.e you are not cutting all the way through the paper.

Divide the green line measurement  (i.e the amount of your sway back measurement)  into 2. In my example  2 / 2 = 1". I will mark 1" above and below the cut pattern piece. 


Overlap your 1" mark at the top so that the marked 1"  lines sit on top of each other.  


Tape or glue your paper together. 


You will end up with a funny-looking back bodice but it will work out in the end!
 You will need to cut out two mirrored back pieces instead of one piece on the fold. 


Because you are now cutting two back pieces, you will need to add back the seam allowance to  back bodice pieces. You can either add it to the paper pattern or like me just cut out the extra amount while you are cutting out the back pieces.


Pin your back bodice pieces together and sew.


Continue with the shirt or dress construction as given in the pattern instructions. 


Here is the end result of the top version after the swayback adjustment. 


And one of the features I really love about this pattern is the gathered raglan sleeve. 


The pattern also comes with several other sleeve and neck options which you can view here.


Wednesday, 5 October 2022

PRACTICE MAKES PERFECT - SEWING THE VIVACE DOLMAN BY LOVE NOTIONS


This is my first sew of the Vivace Dolman and it got me thinking about how far I have come in my sewing adventure.


I remember my first sewing project was a mug rug and how ghastly it looked after I was finished.  

Demotivated but not giving up I pressed on to learn and master all the sewing techniques. Now I find that there is almost nothing that I cannot conquer when I put my mind to it.

I am not saying I do not make mistakes but there is hardly anything that I make nowadays that I look at and think " that is just a disaster". 

VIVACE DETAILS

The Vivace has very few pattern pieces - the front bodice, back bodice, back collar, front collar, and sleeve cuff are all that are required to sew up this easy pattern. 

Front and back collar pieces

The pattern comes in a top, tunic, and dress lengths which can be made in both knit and woven fabrics. The pattern includes different pattern pieces for each. As usual FBA pattern pieces are included and the size range is XS - 5X. 


VIVACE SEWING TECHNIQUES 

So while I was reading through the instructions before sewing up the Vivace,  I realized that there were a lot of great techniques involved in the construction of this pattern. Techniques that a few years ago, I dreaded doing or had no idea what they were. Techniques that I kept doing wrong each time I tried them. The good thing is that I kept trying them anyway. And, it is by practicing, that  I began to see how much my sewing has improved over the years.  


Here is a list of some of the sewing techniques that I came across in the Vivace. Now, this list is not to scare you away from sewing up the Vivace, I am actually encouraging you to try it! If you are new to sewing or afraid of woven patterns, afraid of your serger, afraid of messing up. I want you to take a step and try and learn something new. It does not even have to be this pattern, but a pattern you looked at and mentally decided that it was too hard. I am encouraging you to start practicing it until you can smile and say you did it! 

LIST OF INCLUDED SEWING TECHNIQUES 

  - Cutting on the grain

- Basting

- Pressing

- Stay Stitching

- Notching 

- Grading Seam Allowances

- Interfacing pattern pieces

- Understitching

-Top Stitching

- Sewing Curves


Understitching the lining of the collar to the seam allowance.
 I do that from the right side of the fabric


You probably didn't realize how many things you do during the construction of a garment right? I honestly can say that some of them I find less enjoyable - for example - ironing. When I just started learning to sew, I hated to iron. I still do, but realize it is not a step I can keep skipping if I want my garment to look great!  Strangely enough, I enjoy understitching and sewing curves, those techniques feel like fun to me. 

ENJOY THE ART OF SEWING

Sewing is a beautiful art,  nobody is paying you to do it, you are making this garment on your terms and your own time. That kind of liberation feels good, doesn't it?  That is exactly how I felt when I cut out this pattern this week! 

Sewing patterns cannot tell you every single thing, well-written patterns try, but at times, especially if you veer off the road of following instructions, you will have to make some decisions on your own. At times, these detours end up at happy places, other times they do not. When making the Vivace, the first thing I did was steer away from fabrics that I would normally sew. I decided on making the woven version and so knits that I have found so much comfort in sewing, were now out of the question. 

Also, I decided not to use the cotton fabrics I had on hand, since they did not have the required drape this pattern needed.  The pattern instructions suggested rayon, crepe, tencel and silk. This easy-fitting pattern would look gorgeous in any lightweight fabric I thought, so this time I decided to try a Minerva Exclusive Animal Song Viscose Challis Fabric.  The description said this fabric is made from wood pulp and more breathable than cotton. That was a definite motivator for me in this warm weather. I also loved the animal print design and thought it would look great on the Vivace which when you look at the design lines, comes across as a comfortable and timeless pattern to wear. 

PERSONAL PATTERN ADJUSTMENTS 

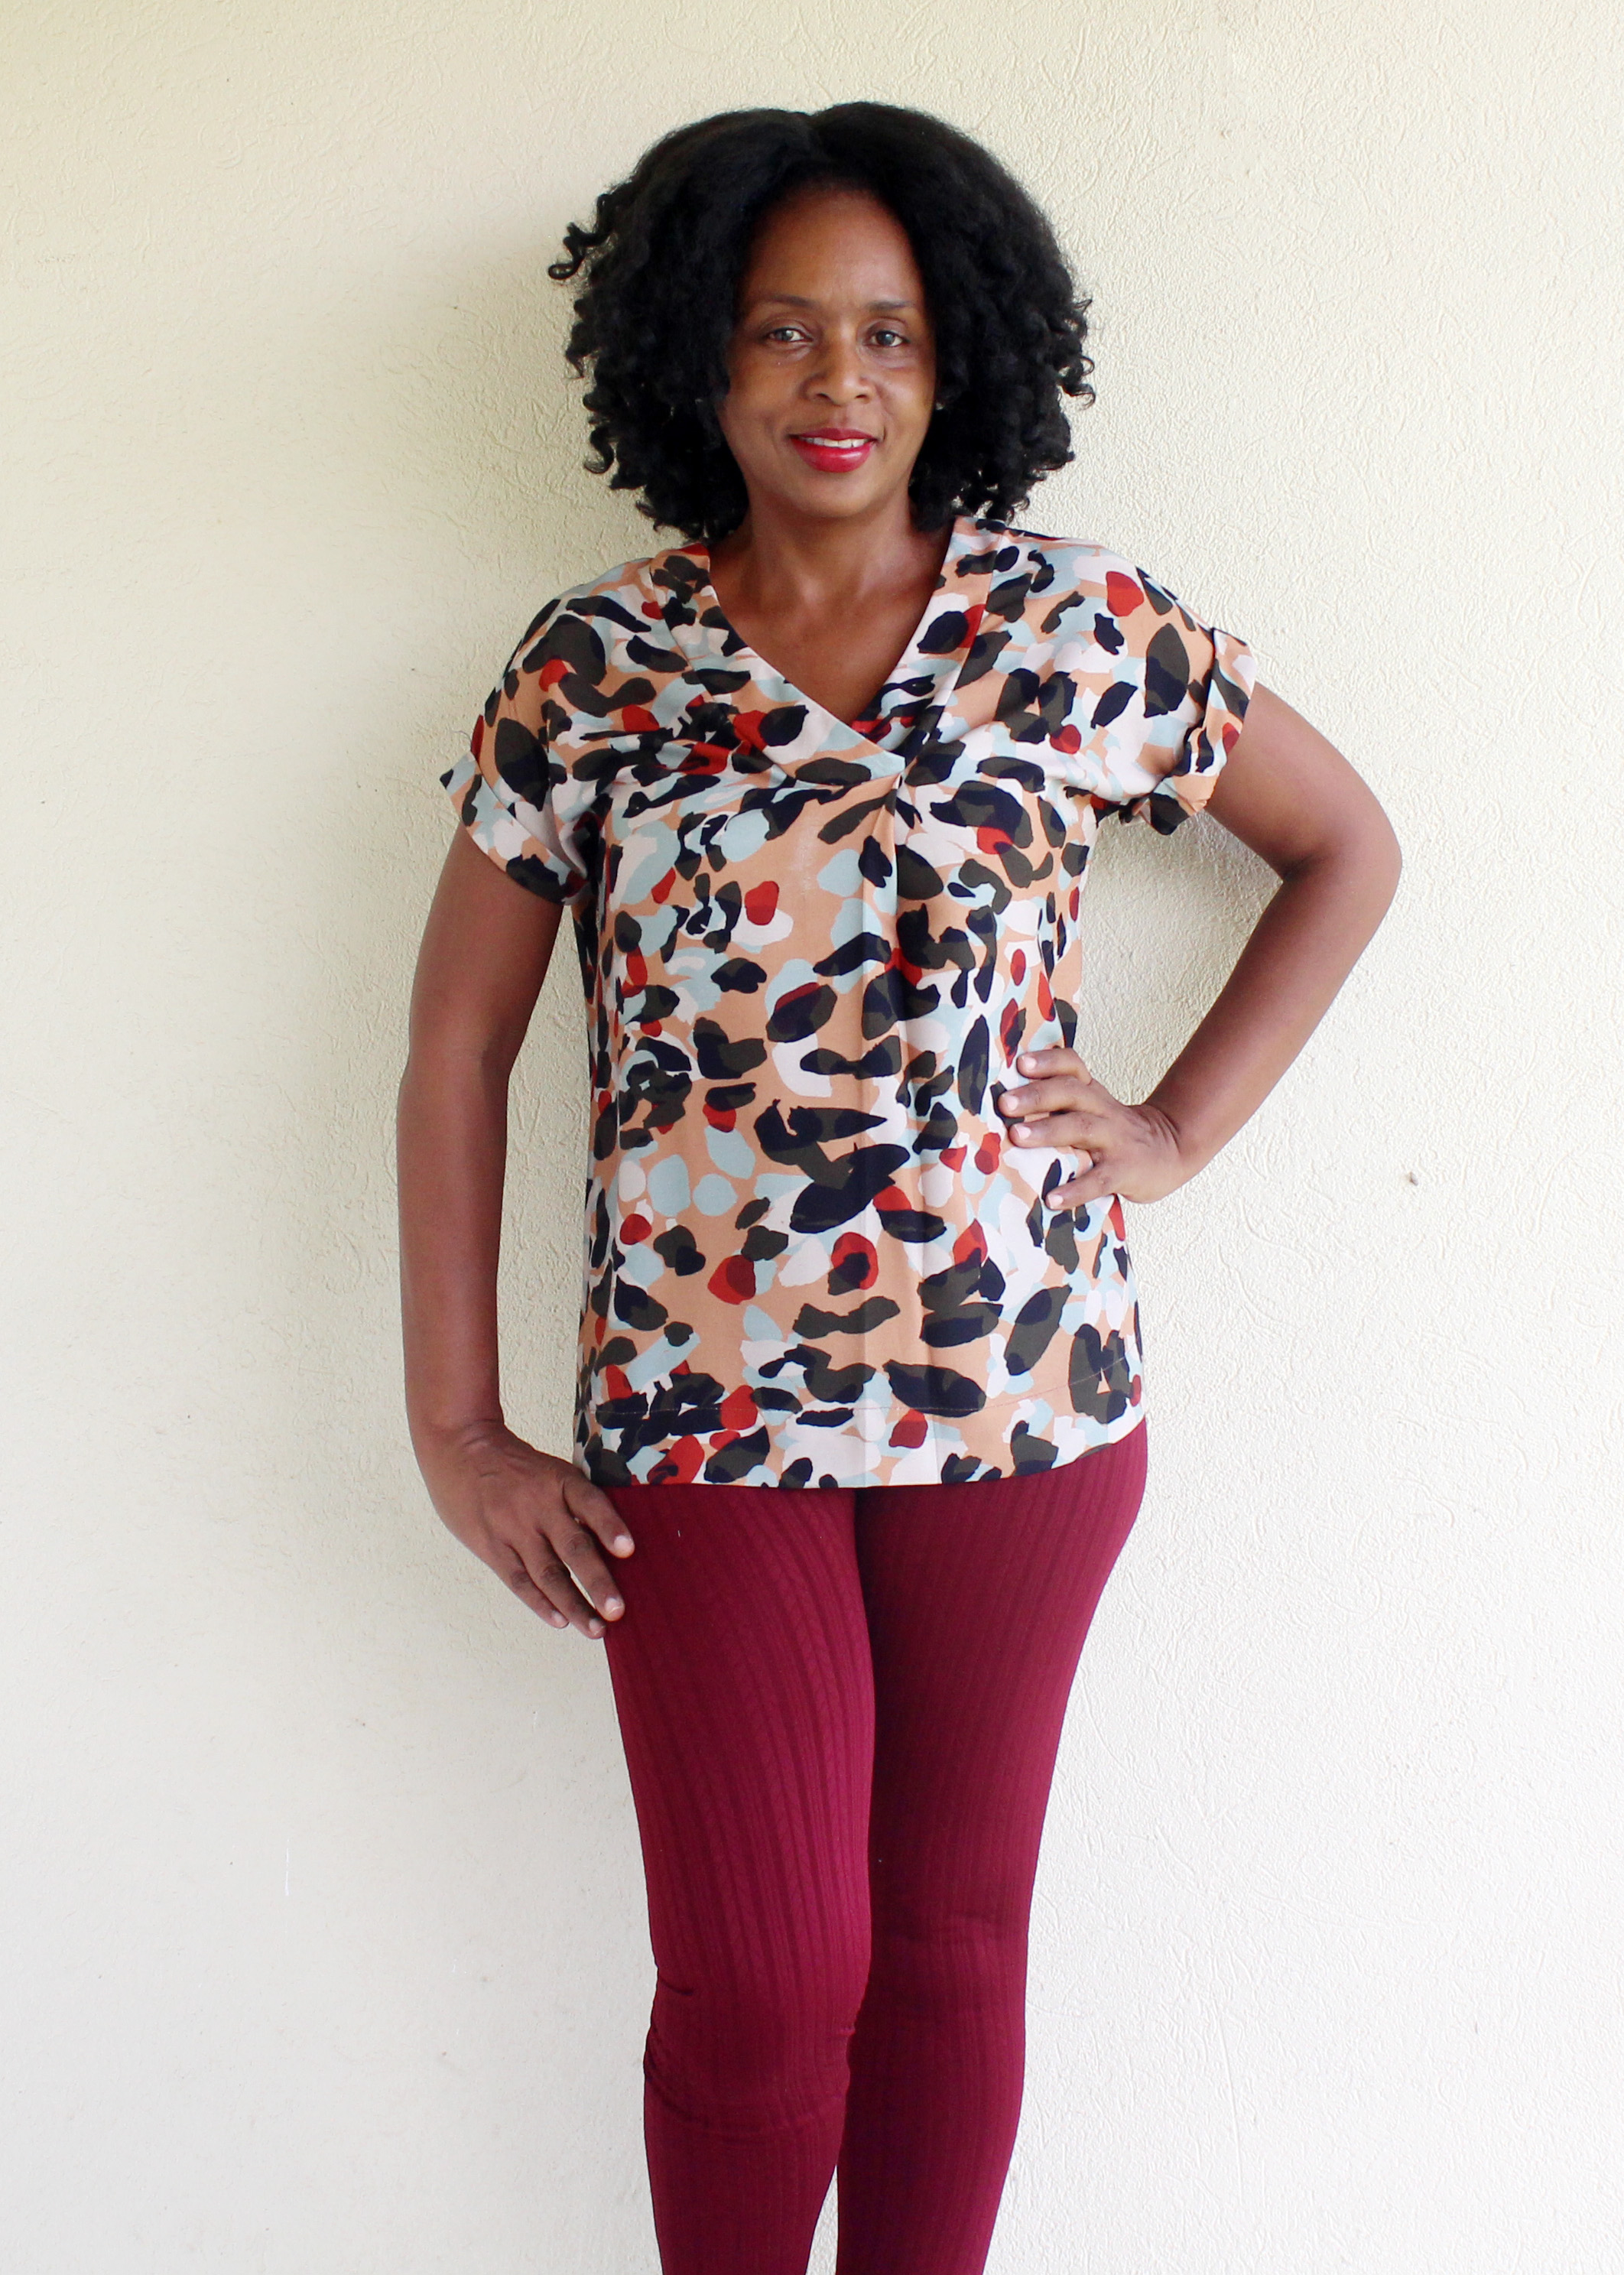
I am really a dress girl, but somehow I felt like making a top this time around. I always felt tunics made me look too short and so shied away from those lengths. Instead, I   choose to lengthen the top version by 2" because  I wanted to be sure that If I wore it to work and stretched to reach higher shelves, I would have enough length to cover my waist.  

PERSONAL BENEFITS OF THE VIVACE

Some of the best features I see with this pattern are : 

- It's loose fitting and therefore perfect for warmer weather wear.

- Easy pattern to dress up or down. Here it is for work and also styled for errands. 

Great for a day at the office

Comfy with leggings


PERSONAL CHALLENGES DURING CONSTRUCTION

- So the list of sewing techniques that you will have to use in this pattern must be followed to make a great top. But sometimes based on your fabric, expertise, or any other factors that will affect your sewing outcome, you can make changes to suit you.  What I did not realize at the time was that Rayon Challis has a tendency to stretch or grow when you’re working with it. Yikes!! In my case,  hindsight taught me that I need to iron interfacing on both the main and lining pieces of my neckband to keep them stable. 

Interfacing on the main fabric


 I should have ironed the interfacing to my fabric first, then cut out my interfaced pattern pieces. This would give greater accuracy in cutting out my pattern pieces.  Since I did not, I had a bit of trouble fitting my neckband to the bodice. 

- One thing that did help me, was transferring all the notches to help me line things up. But I had clipped into my fabric and noticed that The notches began to fray. I was worried and made a mental note next time to use a fabric marker instead. 


SUCCESS !! 

Now, in my estimation, this sewing story ends well because I still came out with a beautiful top. But it has reminded me of how far I have come in sewing and also that it is always a learning process. No two projects are the same and I should always be prepared for anything. What I always try to do is to have fun and be sure that I try my best at each project. 

You can see me twirling in my Vivace on Instagram


Roomy and breathable

Great Design Style


GIVEAWAY, DISCOUNTS, AND SALES !!

If you are on the fence about the Vivace, I encourage you to give it a try.  If you are reading this blog between October 3 - 7 2022, then you are in luck to catch the 40%  off Love Notions Sale happening on the Love Notions Website.  You can quickly jump to read more about the Vivace Dolman and see it on more body types in the listing. 


If you decide to purchase this pattern, you can get an additional 10% off by using the code DEBBIE10 on this and any pattern during and after the sale. 


AND....Love Notions is having a great giveaway too !!  You can win a  Babylock Victory Serger for ANY order (not necessarily a purchase) that happens between October 3-7, 2022 - shipping anywhere in North America. That outside of North America will still be eligible to win an equivalent value in a pattern credit. 


If you got this far, thank you for reading and happy sewing!! 

Debbie 


Monday, 3 October 2022

TEMPO SUNDRESS TOP HACK - EASY PEASY SEWING PATTERN BY LOVE NOTIONS

LOVE NOTIONS PATTERN - TEMPO DRESS HACK AND THREE  GIVEAWAYS !! 

Let me just start by saying this fabric did not have my name written all over it. Neither did I set out to make myself another Tempo Sundress. 


I actually was going to make a Dress for my niece with this beautiful fabric I got from Minerva . The fabric is a poly-cotton blend, lightweight and cool, and the colours are really lovely. 


The fabric kept calling my name and I somehow found myself tracing and cutting out a pattern for myself. The good thing is I do have a piece of fabric left that could still make something cute for her!

So I went ahead and made myself the Tempo Sundress by Love Notions. The Tempo Dress is a quick sew and is a great layering piece and it is made from woven fabric. So if you are heading into cooler climates I still think you can find it a useful pattern. Here are some more details about this pattern : 


The pattern comes in a dress  length only.  This is the dress version that I made last year.


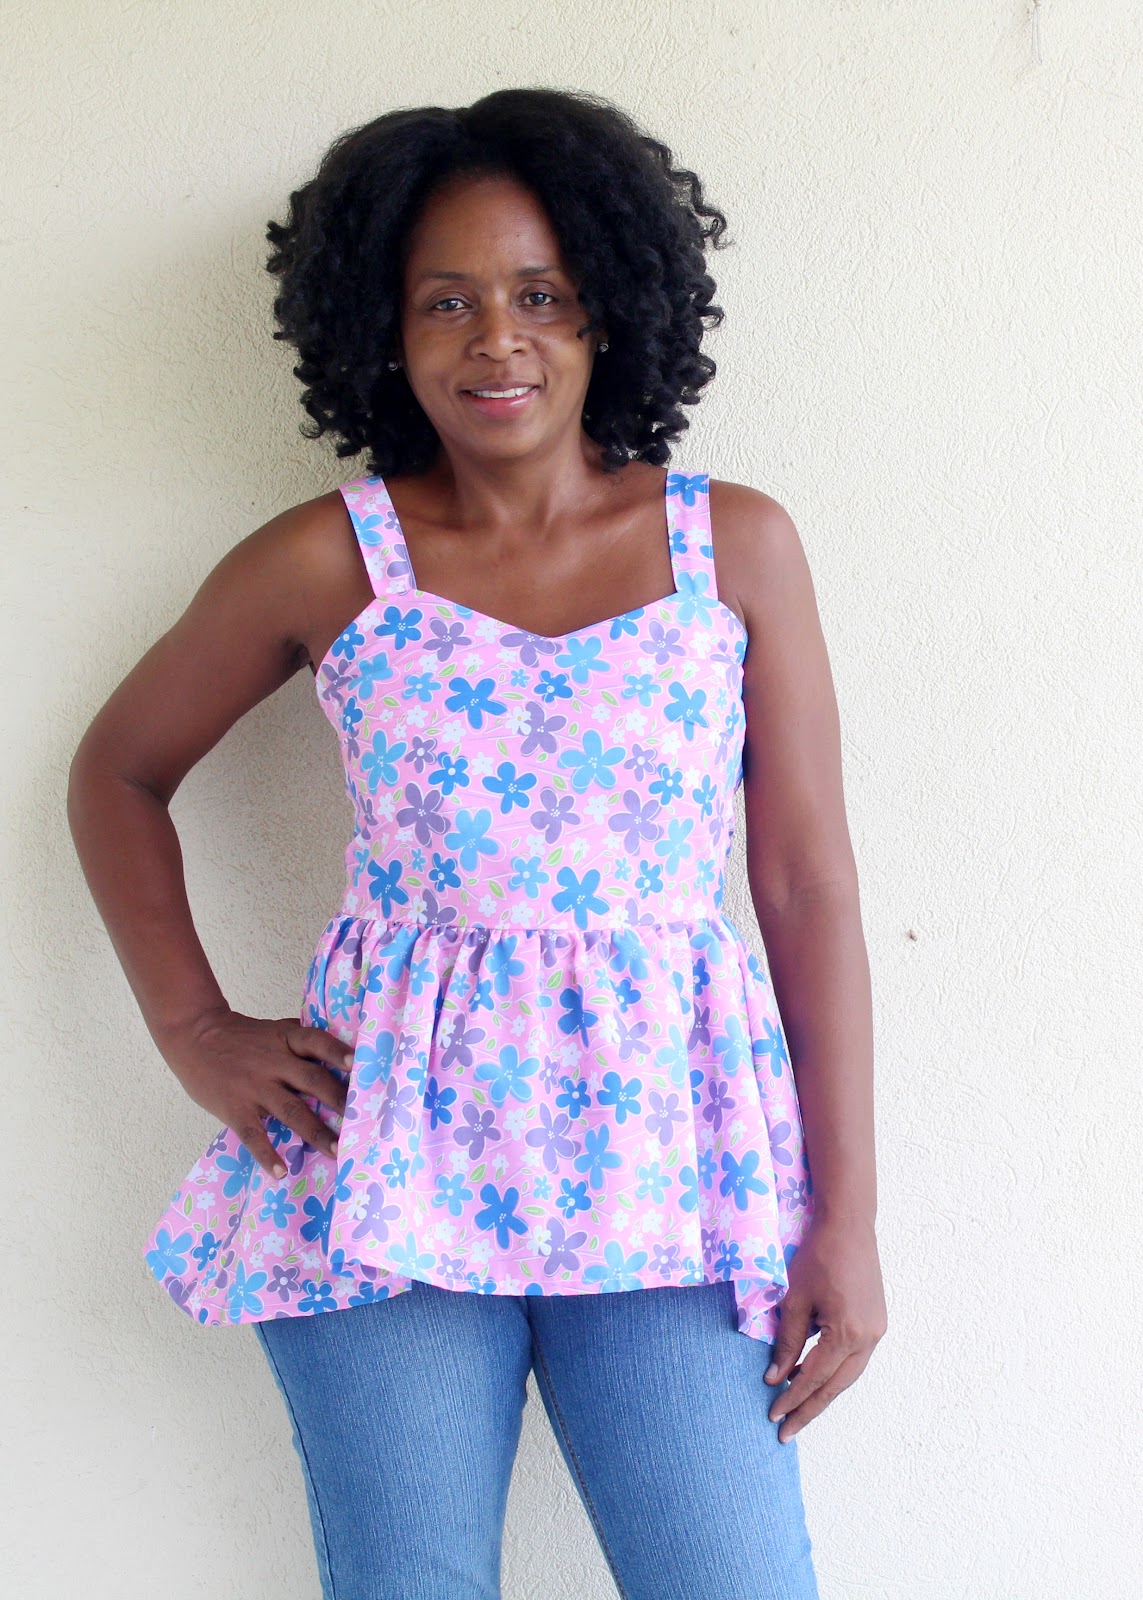
But I have decided that since the fabric was technically not mine, I would make a top version instead so I did not use it all. 


PATTERN CHANGES

Since the pattern does not come with a top version, I cut the skirt at half the length the pattern pieces were made for.  See red line below.


If you cut the pattern straight across, you will end up with a handkerchief hem effect as shown on my top. However, if you want to maintain the skirt's smooth hem, you will need to transfer the same shape of the original hemline to your new top length. 


I also cut the skirt about 3” wider than the pattern calls for to give me more gathers at the waist (just a personal preference).


I was now ready to sew up the pattern as instructed and this was the end result.


 I choose to use the elastic in the back of the top since I had tried the shirred version in my first make (red skirt below ). Both the shirred and elastic channel versions fit well but I think I now love the elastic back version more than the shirred version because my skin is very sensitive and gets irritated easily.  The elastic version is a bit more gentle against my skin. 


 FREE PATTERN GIVEAWAY

If you love this pattern and would like to give it a try,  I am giving away a copy of this pattern to one lucky person who heads over to my Instagram page and comment under the Tempo Top Hack, telling me one thing you love about the  Tempo Sundress by Love Notions.  This giveaway closes on October 7, 2022.


LOVE NOTIONS SALE EVENT AND ADDITIONAL DISCOUNT CODE

So if you liked my top and dress versions and would love to make one for yourself or even a child, --yes there is a Kids Tempo SundressLove Notions is having a 40% off sale between  October 3-7 2022. You can also get an additional discount, by entering my code DEBBIE10 for 10% off any Love Notions pattern - even during this sale event. 


LOVE NOTIONS SERGER GIVEAWAY

Love Notions is giving away a Babylock Victory Serger for ANY order (not necessarily a purchase) that happens between October 3-7 - shipping anywhere in North America. That outside of North America will still be eligible to win an equivalent value in a pattern credit. 


So happy shopping and good luck with the giveaways!!