Hi
I have made a new dress using the Bella Dress Pattern by Handicrafitness. Need I say more...Here it is:
I could not resist making only one. I also made this two tone dress . The top is floral linen and the bottom is bright yellow in cotton
Monday, 21 April 2014
Sunday, 30 March 2014
Free Christmas Dress TUTORIAL by Seamingly Smitten
Here is a dress I have made using the Free Holiday dress tutorial by Seamiingly Smitten:
A note on the dress, the tutorial is well written and teaches me two new skills : 1) the bubble hem and 2) overlay with sequins . I did not use any of them in this tutorial but I have stored for future use I found just one small issue with the pattern, I think the arm hole is too deep, so I suggest that you look at your armhole carefully before cutting. I made a size 9.
GIRLS DRESS TUTORIAL : CUTE SUMMER DRESS - EASY BEGINNER TUTORIAL
I love the FRESHLY PICKED BODICE PATTERN (and tutorial) It is not a fancy pattern , but it works ! I have found great comfort in sewing with it as it does not require the use of buttons or zips . It is great as a beginner project. Here are some of my projects made with it:
| This is the front of the dress, I had cut the bodice a little shorter than the patternso that it would be high waisted. |
| The bow is made out of satin fabric. The bow tutorial can be found at Marina Brumpton you tube video tutorial for a dicky bow |
| This is the back of the dress (buttons not yet added) |
EASY GIRLS TOPS : NO BUTTONS OR ZIPS REQUIRED!
My inspiration for these tops was the PAT BRAVO FREE TUTORIAL . As you can see I made a few!
The fun part about sewing is not the basic construction, but the additions that you make to it.
For eg I got to practice a faux placket by see kate sew on this navy blue gingham top and I also practiced on making straps for the top
My next project was to get into colour blocking. I practised making sphagetti straps by handmade things and bows by flax and twine.
Each time I make something, I try to practice a new technique to expand my sewing horizon.
| For this top, I used gabardine fabric in navy blue and yellow. I added navy blue gingham for the bows. This rayon fabric was inspired by |
EASY GIRLS DRESS TUTORIAL - NO BUTTONS OR ZIPS . GREAT FOR A BEGINNER SEWER SEAMSTRESS
This dress was inspired by THE LITTLE DRESS BY PAT BRAVO
This pattern is great for a beginner.
FABRIC DETAILS :
white - rayon
navy blue - gabardine
red - some type of linen.
flower - pongee with the edges melted.
This pattern is great for a beginner.
FABRIC DETAILS :
white - rayon
navy blue - gabardine
red - some type of linen.
flower - pongee with the edges melted.
Thursday, 6 June 2013
BEGINNER PROJECTS : KIDS SKIRTS
UPDATE MAY 2014:
I have been busy making many skirts. Here are a few: SKIRT MANIA
These are my first set of children's clothes I have made and whilst they may not be perfect I am proud of them. Thankfully my niece gave me a few minutes to model them for me.
It is good practise for a beginner sewist to start with simple skirts. There are tonnes of them on the internet, so just pic your choice. I especially liked A SIMPLE SKIRT by MADE.
First up is a royal blue matte linen skirt with a floral polyster trim. The ribbon at the waist is a faux / fake drawstring, but helps the child to determine where is the front and back. This is a size 3T.
| This elastic waist skirt is made from matte linen, with a polyester trim. |
I also made a grey coloured skirt from matte linen as well. I made an exposed elastic waist and my first applique flower held on by a button. The edge of the skirt was serged but I think I will hem it up. This skirt is also a size 3T. For this skirt I chose The "Make it and Love It" tutorial
Next I made another skirt out of the grey matte linen with a fabric flower held on by a button.
Next, I made a floral skirt - same thing different fabric:
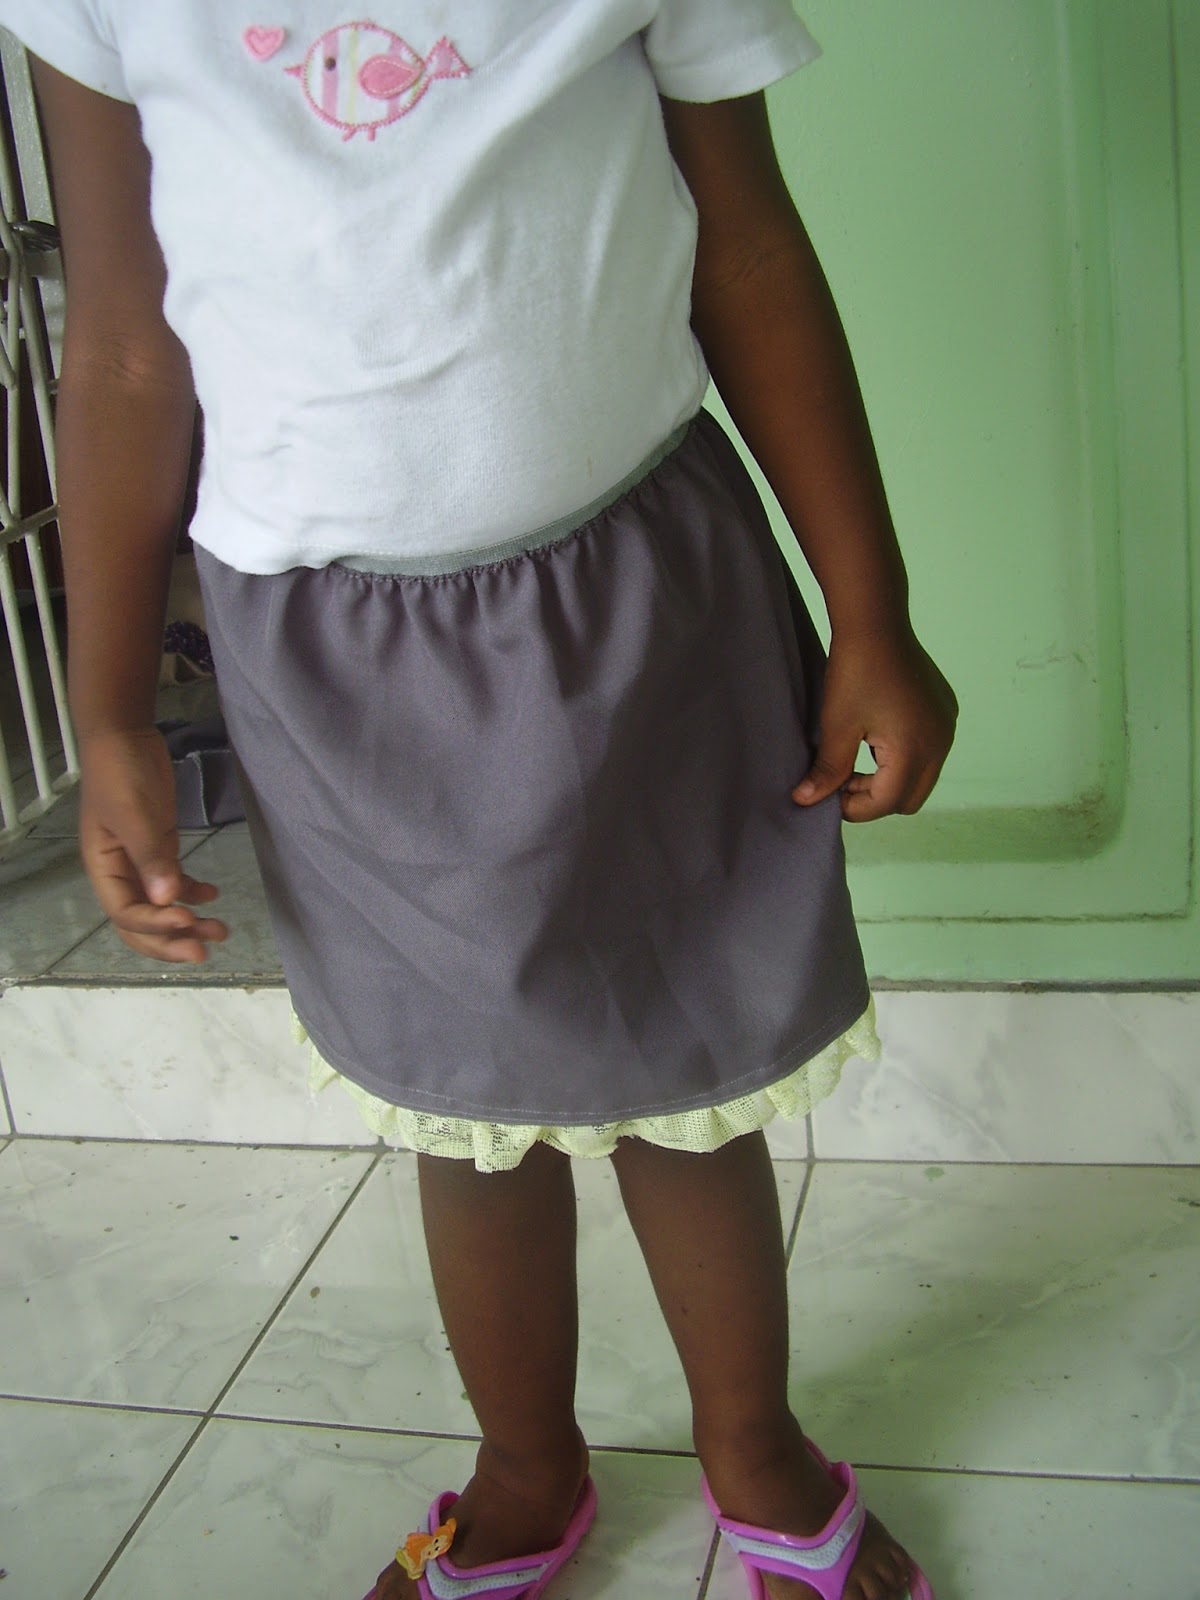
The above skirt is a simple one with an elastic waist. I also added a piece of lace to the bottom as frill. This is the same fabric (matte linen in grey)
Tuesday, 4 June 2013
GIRLS TOP TUTORIAL : THE "LOVE ME ORANGE TOP "
Though not perfect I am really proud of my latest achievement. It is as simple as breathing but it took me two hours (lol!)
Anyway let me share it with you:
I made it on Saturday June 1 2013.
The fabric used is cotton (we call it dacron and cotton) :
I got the two pieces of fabric (show below) from a seamstress who obviously decided to abandon the project.
I decided to make a size 3T top.
My measurements used were :
CHEST 21
my aim is my top to have a finished length (including straps) of 15 1/2 inches
The fabric is actually a top gone bad. Its size is about 12 inches long starting from the cut neckline on the orange piece and about 12 inches wide) .
So, the first thing I did was even up my squares. I ended up with 12 x 12 squares
Then, I sewed cut a piece of white about 2W x 24L .
Next, I folded the white to the wrong side of the orange fabric to cover the raw edges of the orange piece. So it should look like this when done.This added another 1 1/2 inches to the length.
I then stitched a one inch tube at the top of the blouse to fit in the elastic. remember to leave out a gap to insert the elastic through.
I then made straps one inch wide by 10 inches long when done. You can adjust the strap length so that it is
3 -4 inches when stitched on.
I decided to be a little creative and add the strap on the outside of the top instead. I sewed a box just below the stitch line where i made the tube for the elastic. The straps were sewn 2 1/2 inches in from the border and one inch down from the top as demonstrated below. for the straps on the back I sewed them inside as normal(picture not show yet)
Sew the other side of the top together . You should now have this (front view)
Back view :
Cut the elastic one inch shorter than the chest measurement (i.e 20 inches) and insert elastic through the tube . Stitch the ends together and close your casing .
I recently started to learn how to applique - please ignore the wonky heart. But what I did was draw a heart shape on the paper side of the iron on interfacing then I placed my fabric on the shiny side. ironed it . Then I cut it out and stitched it on my top with a straight stitch.
And that's it!
I don't have any children to fit it on to give you a better idea but I hope you have a little one to make one for and let me see how it looks.
Anyway let me share it with you:
I made it on Saturday June 1 2013.
The fabric used is cotton (we call it dacron and cotton) :
I got the two pieces of fabric (show below) from a seamstress who obviously decided to abandon the project.
I decided to make a size 3T top.
My measurements used were :
CHEST 21
my aim is my top to have a finished length (including straps) of 15 1/2 inches
The fabric is actually a top gone bad. Its size is about 12 inches long starting from the cut neckline on the orange piece and about 12 inches wide) .
So, the first thing I did was even up my squares. I ended up with 12 x 12 squares
Then, I sewed cut a piece of white about 2W x 24L .
Then, I sewed the orange pieces together and then stitched the white to the bottom.
I then stitched a one inch tube at the top of the blouse to fit in the elastic. remember to leave out a gap to insert the elastic through.
I then made straps one inch wide by 10 inches long when done. You can adjust the strap length so that it is
3 -4 inches when stitched on.
I decided to be a little creative and add the strap on the outside of the top instead. I sewed a box just below the stitch line where i made the tube for the elastic. The straps were sewn 2 1/2 inches in from the border and one inch down from the top as demonstrated below. for the straps on the back I sewed them inside as normal(picture not show yet)
Sew the other side of the top together . You should now have this (front view)
Back view :
Cut the elastic one inch shorter than the chest measurement (i.e 20 inches) and insert elastic through the tube . Stitch the ends together and close your casing .
And that's it!
I don't have any children to fit it on to give you a better idea but I hope you have a little one to make one for and let me see how it looks.
Subscribe to:
Posts (Atom)